No-Fuss Chocolate Bark Treats
Highlighted under: Best Desserts | Yummy Sweets
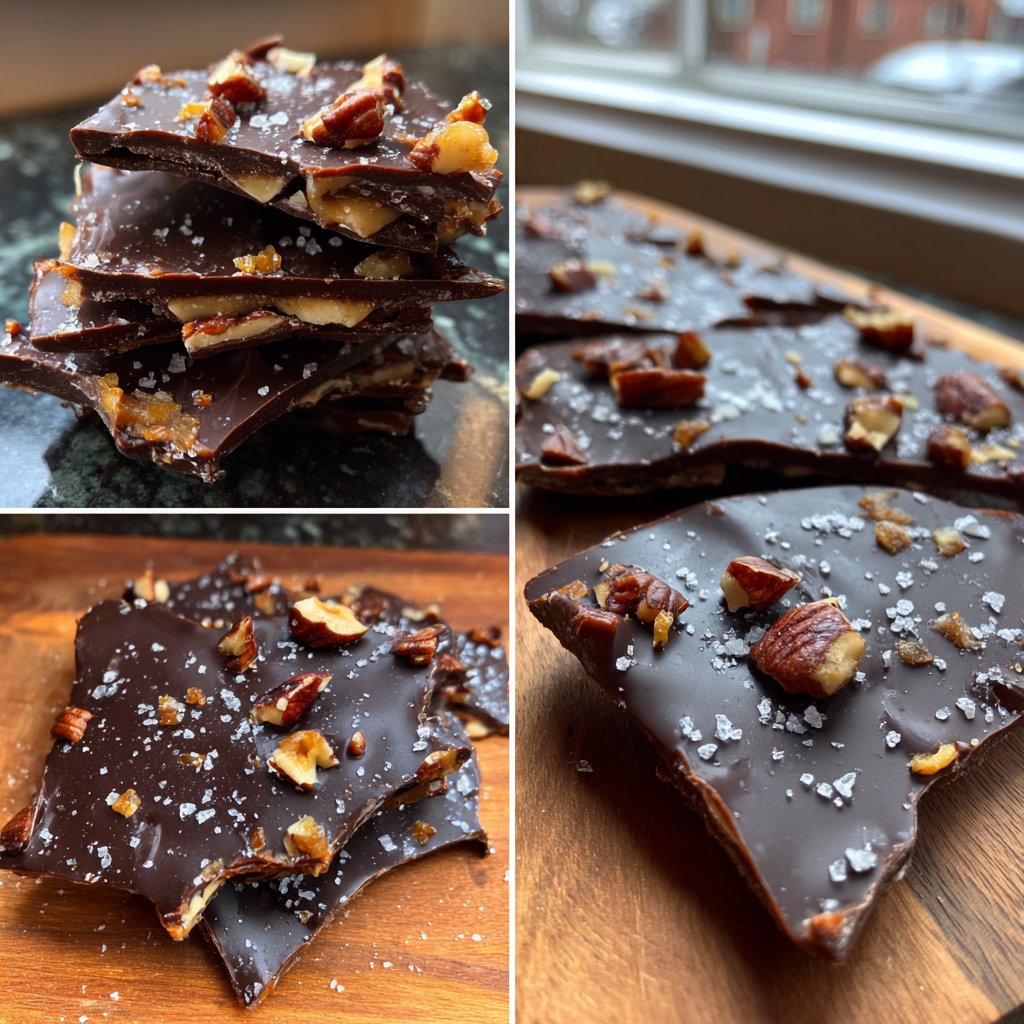
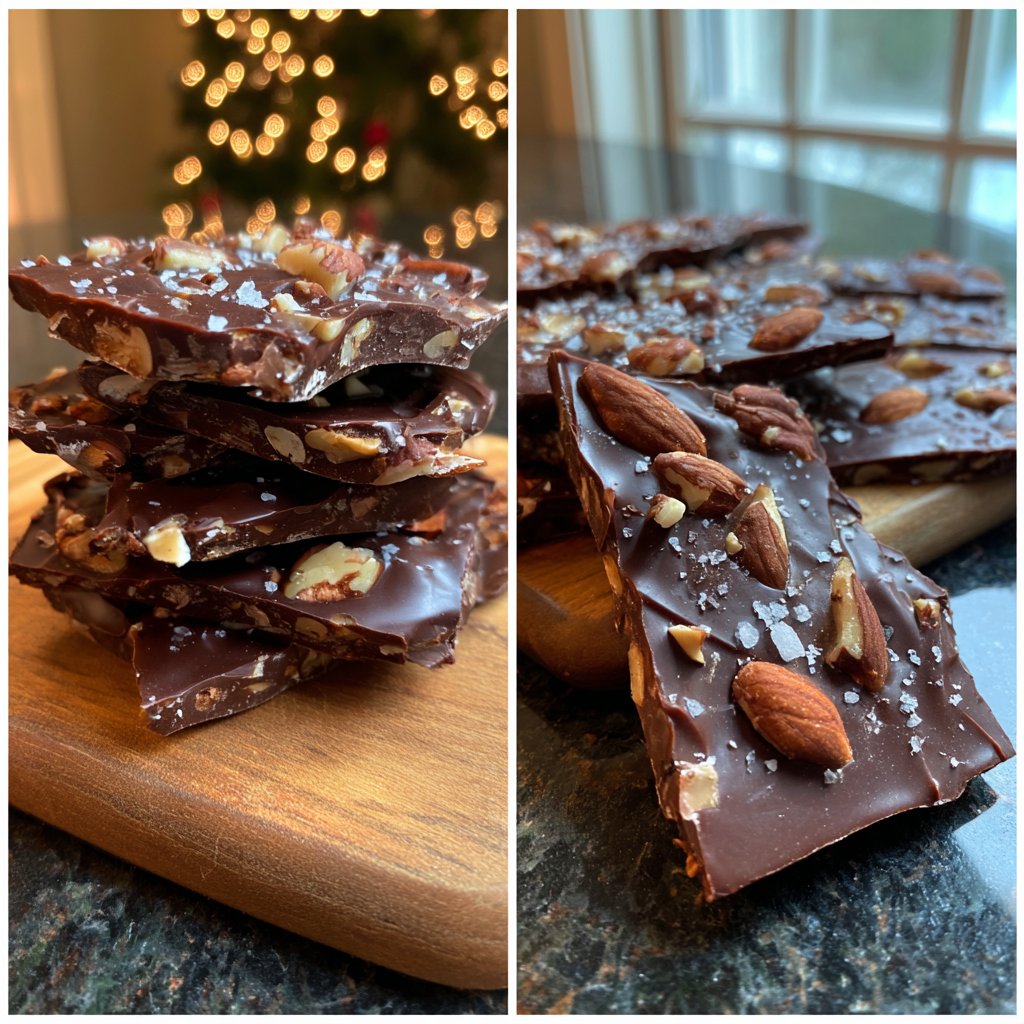
I love how simple and satisfying it is to whip up a batch of No-Fuss Chocolate Bark Treats. With just a few ingredients, I can create a delicious confection that everyone enjoys. Whether it's for a quick snack or a special occasion, this treat is a go-to in my kitchen. The process is incredibly straightforward -- melt the chocolate, mix in your favorite toppings, pour it out, and let it set. In no time, I have a sweet indulgence that looks as good as it tastes!
When I first decided to make chocolate bark, I was surprised by how straightforward it was! Melting chocolate may seem intimidating, but using a double boiler or the microwave made it a breeze. I found that adding a sprinkle of sea salt elevates the flavor, balancing the sweetness beautifully. Each time I make it, I experiment with different toppings, from nuts to dried fruit, making each batch unique.
One tip that I absolutely swear by is to allow the chocolate to cool slightly before adding the toppings. This way, they stay on the surface and don’t sink! The result is a picture-perfect treat that’s just as enjoyable to look at as it is to eat. It’s a perfect way to end a gathering or indulge in a sweet moment!
Why You'll Love These Treats
- Quick to make with minimal ingredients
- Customizable with your favorite toppings
- Perfect for sharing or enjoying solo
Mastering the Chocolate Melting Process
Getting the chocolate melting process just right is crucial for achieving that perfect glossy finish. When using the double boiler method, ensure that the bottom of your bowl doesn’t touch the simmering water to prevent overheating. Stir continuously for smoother melting; chocolate may seize if overheated, which can spoil your bark. If using the microwave, start with 30 seconds on medium power, stirring in between, until it’s nearly melted—this helps prevent any burnt bits.
For those looking to switch things up, consider using various types of chocolate. Dark chocolate adds a rich, bold flavor, while milk chocolate lends a creamier sweetness. White chocolate can also be used for a different taste profile and beautiful contrast to your toppings. Just keep in mind that different chocolates have distinct melting points, so adjust your melting time accordingly to achieve the desired consistency.
Choosing Toppings for Your Treats
The beauty of No-Fuss Chocolate Bark Treats lies in their versatility. When selecting your toppings, think about flavor contrasts and textures. For instance, a handful of crunchy pretzel pieces can add a delightful salty element that complements the sweetness of the chocolate, while a touch of sea salt on top elevates the flavor profile even more. If you're feeling adventurous, experiment with spices like cinnamon or chili powder sprinkled atop for a surprising kick.
Dried fruits such as orange peel or coconut flakes can also add a unique twist. Make sure to chop larger fruit pieces to prevent clumping. If you're avoiding nuts due to allergies, consider using seeds like sunflower or pumpkin for a similar crunch. Each topping should be lightly pressed into the chocolate to ensure they stick once the bark sets, preventing a frustrating experience when breaking the bark into pieces.
Storing and Serving Your Chocolate Bark
Once the chocolate bark has set completely, storing it properly is key to maintaining freshness. Place it in an airtight container with parchment paper between layers to avoid sticking. It can be kept at room temperature for about a week, but for prolonged freshness, consider refrigerating it, where it can last up to two weeks. If you decide to freeze your bark, wrap it tightly in plastic wrap followed by aluminum foil to prevent freezer burn; thawing should be done gradually in the refrigerator.
When it comes to serving, break the bark into irregular pieces for a rustic look that feels homemade, or use a sharp knife for cleaner edges if desired. This treat pairs splendidly with coffee or tea and can also be crumbled over ice cream or yogurt for an indulgent dessert. Feel free to package it beautifully for gifts, as it makes a thoughtful and personal treat for friends and family.
Ingredients
Gather the following ingredients before you start:
Ingredients
- 8 oz dark chocolate (or milk chocolate)
- 1/4 cup chopped nuts (almonds, walnuts, or pecans)
- 1/4 cup dried fruits (cranberries, apricots, or raisins)
- Sea salt to taste
Try to use high-quality chocolate for the best flavor!
Instructions
Follow these easy steps to make your chocolate bark:
Melt the Chocolate
Chop the chocolate into small pieces. Place it in a heatproof bowl over a pot of simmering water (double boiler method) or microwave in 30-second intervals, stirring in between, until fully melted.
Prepare the Baking Sheet
Line a baking sheet with parchment paper, ensuring it’s smoothed out to prevent any lumps or bumps.
Combine and Spread
Pour the melted chocolate onto the prepared baking sheet and spread it evenly with a spatula.
Add Toppings
Sprinkle the chopped nuts and dried fruits over the melted chocolate. Press them down lightly to ensure they adhere.
Set the Bark
Let the chocolate cool at room temperature for about 10 minutes, and then transfer it to the refrigerator for 15 minutes or until firm.
Break into Pieces
Once set, remove the bark from the parchment paper and break it into pieces. Enjoy your homemade treats!
Store any leftovers in an airtight container.
Pro Tips
- For a delicious twist, consider adding a drizzle of white chocolate on top before the bark sets!
Perfecting Your Bark Technique
Successfully achieving that snap in your chocolate bark relies on tempering chocolate, which involves careful heating and cooling. While this recipe is simple and doesn’t require tempering, being aware of this technique can enhance your chocolate's texture and sheen. If you find your chocolate is too soft after cooling, you can re-melt it gently and ensure it’s stored in a cooler place to maintain firmness.
If you ever struggle with chocolate seizing or becoming grainy, adding a small amount of coconut oil or shortening can help. This not only brings back the smooth texture but also lends a slight sheen, making your finished bark look even more appealing. A couple of teaspoons can make a world of difference when incorporated during the melting process.
Flavor Variations to Try
Consider experimenting with flavor infusions for an unexpected twist in your chocolate bark. Adding a few drops of flavored extract, like peppermint or almond, to the melted chocolate can transform the entire taste experience. Just be cautious with the amount—as little as half a teaspoon can suffice, depending on the intensity desired.
You can also create a marbled effect by swirling in a contrasting chocolate before it sets. Simply melt white or milk chocolate separately, drop it onto the dark chocolate in dollops, and use a toothpick to create a beautiful design. This not only adds an eye-catching appearance but also opens up endless flavor combinations that can impress your guests.
Questions About Recipes
→ Can I use chocolate chips instead of bars?
Yes, chocolate chips work well, but they may contain stabilizers, so melting might take a little longer.
→ How should I store the chocolate bark?
Store it in an airtight container at room temperature or in the fridge to keep it fresh.
→ What are some topping ideas?
You can use a variety of toppings like crushed candies, pretzels, or coconut flakes.
→ Can I melt the chocolate in the microwave?
Absolutely! Just microwave in small increments, stirring in between to prevent burning.
No-Fuss Chocolate Bark Treats
Created by: The Chefoliviasfood Team
Recipe Type: Best Desserts | Yummy Sweets
Skill Level: Beginner
Final Quantity: 12 pieces
What You'll Need
Ingredients
- 8 oz dark chocolate (or milk chocolate)
- 1/4 cup chopped nuts (almonds, walnuts, or pecans)
- 1/4 cup dried fruits (cranberries, apricots, or raisins)
- Sea salt to taste
How-To Steps
Chop the chocolate into small pieces. Place it in a heatproof bowl over a pot of simmering water (double boiler method) or microwave in 30-second intervals, stirring in between, until fully melted.
Line a baking sheet with parchment paper, ensuring it’s smoothed out to prevent any lumps or bumps.
Pour the melted chocolate onto the prepared baking sheet and spread it evenly with a spatula.
Sprinkle the chopped nuts and dried fruits over the melted chocolate. Press them down lightly to ensure they adhere.
Let the chocolate cool at room temperature for about 10 minutes, and then transfer it to the refrigerator for 15 minutes or until firm.
Once set, remove the bark from the parchment paper and break it into pieces. Enjoy your homemade treats!
Extra Tips
- For a delicious twist, consider adding a drizzle of white chocolate on top before the bark sets!
Nutritional Breakdown (Per Serving)
- Calories: 220 kcal
- Total Fat: 15g
- Saturated Fat: 9g
- Cholesterol: 0mg
- Sodium: 20mg
- Total Carbohydrates: 24g
- Dietary Fiber: 2g
- Sugars: 20g
- Protein: 2g